Finishing your basement opens the door to more than extra square footage; it creates space that actually works for your lifestyle. Whether you need a quiet home office, a place for guests to stay, or a separate unit for rental income, a finished basement can deliver all that and more.
But turning an unfinished space into something beautiful takes planning, permits, and a clear understanding of the process.
Here's what goes into it, from the first hammer swing to final inspection.
KEY TAKAWAYS
Finishing a basement includes preparing the space, waterproofing, framing walls, and running electrical and plumbing lines. It also involves adding insulation, hanging drywall, installing ceilings and flooring, and completing final touches like paint and trim. Safety features, such as egress windows, ventilation, and proper permits, are essential for code compliance and long- term comfort.

Basement Finishing: What It Typically Includes
Most basement finishing projects follow a similar structure, even though layout and style can vary. Here's what a standard project usually involves:
Moisture prep and waterproofing to prevent leaks and dampness
Framing walls to define new rooms and spaces
Electrical and plumbing rough-ins for outlets, lighting, and bathrooms
Insulation and drywall to control temperature and sound
Ceiling installation using drywall or drop panels for easy access
Flooring like vinyl plank, carpet, or tile suited for basements
Trim, paint, and final finishes to make the space feel complete
Egress windows for safety and code compliance if you're adding a bedroom
Step-by-Step Breakdown of the Basement Finishing Process
Turning a basement into a livable space involves more than appearances. It’s a project with multiple stages that includes inspections, permits, and coordination between licensed professionals. Here’s how a typical basement finishing process unfolds:
Step 1: Planning and Site Prep
A licensed contractor begins with a full evaluation of the basement, checking for moisture, ceiling height, and structural concerns. Any water intrusion or foundation issues are addressed first to prevent future problems.
Once the space is cleared and ready, the contractor helps map out a layout that fits your goals. This may include a bathroom, bedroom, office, or entertainment area. They’ll also prepare and submit permit applications as required by local building codes.
Step 2: Framing and Utility Rough-Ins
With permits in place, the framing crew builds out the new walls and defines each area of the basement. Openings for doors, windows, and other features are included in this step.
Then come the rough-ins. Licensed electricians and plumbers install wiring, outlets, lighting, and any necessary plumbing lines. If the plan includes a bathroom or wet bar, these systems are placed according to code and approved design.
Step 3: Insulation and Drywall
After rough-in inspections are complete, insulation is added to the walls and ceilings to support energy efficiency and noise control.
Drywall is then installed, seams are finished, and the walls are prepped for paint. At this stage, the basement starts to feel like a finished part of the home.
Step 4: Flooring and Ceiling Installation
Next comes flooring and ceiling work. Materials are chosen based on your goals and the basement’s specific needs.
Popular flooring includes vinyl plank, tile, or carpet, all designed to handle moisture and daily wear. Ceilings may be finished with drywall or a suspended tile system, depending on accessibility preferences.
Step 5: Paint, Trim, and Final Details
Once the main construction is complete, the final details are added. Walls and trim are painted, doors and baseboards are installed, and hardware like switches and outlet covers are put in place.
This is also when custom features such as built in shelving, accent walls, or wet bars are completed by the finishing crew.
Step 6: Final Inspection and Safety Checks
Before the space is ready for furniture or use, a final inspection is scheduled. City inspectors review the work to confirm that it meets code. This includes electrical systems, plumbing, egress access, and overall safety.
If a bedroom has been added, it must include a code-compliant egress window or door. Ventilation, air quality, and fire safety features are also reviewed to support long-term comfort and peace of mind.

How Much Does It Cost to Finish a Basement in Denver?
The cost to finish a basement depends on the size, design, materials, and whether you're adding features like a bathroom, bar, or extra bedroom. We recommend getting at least three quotes from our screened local contractors to get a better sense of what your project may require.
Several factors influence how much you’ll spend:
Size of the basement:
More square footage means more materials, labor, and time.
Design complexity:
Adding a bathroom, wet bar, or home theater drives up the cost due to plumbing, electrical, and specialty materials.
Material choices:
Vinyl flooring and painted drywall are more budget friendly than hardwood, tile, or custom cabinetry.
Permits and inspections:
In the Denver area, permit requirements can vary significantly based on your city and the scope of the work.
Structural changes:
Removing or relocating load-bearing walls, adding egress windows, or modifying HVAC can increase expenses.
Since every home and layout is different, the best way to get an accurate number is to speak with a local contractor. Team Dave Logan connects you with screened Denver Area pros who can provide quotes tailored to your space, goals, and budget.
How Long Does It Take to Finish a Basement?
Most basement finishing projects take 6 to 12 weeks from start to finish, depending on size, scope, and any custom features you include.
The process is usually broken into phases: planning and permits, framing and rough-ins, insulation and drywall, flooring and ceilings, then final paint and finishes.
Each phase depends on inspections, material availability, and coordination with multiple trades like electricians and plumbers.
If you’re adding a bathroom, kitchen, or built-in bar, allow extra time for plumbing rough-ins and fixture installation. Weather, change orders, and permit delays can also impact the timeline. A contractor with local experience can give you a clearer estimate based on your specific project.
Do You Need a Permit to Finish a Basement in Denver?
Yes, you need a permit to finish a basement in Denver if the work involves framing, electrical, plumbing, HVAC, or structural changes.
Permits help ensure your project is safe, legal, and built to code. Most basement remodels require multiple inspections throughout the project, including rough-in and final checks.
This is especially important if you’re adding bedrooms, which must meet egress and ventilation requirements.
To learn more, visit the City and County of Denver’s official permitting page. Working with a licensed contractor is often the easiest way to handle permits, since they’re familiar with local processes and timelines.

What Can You Use a Finished Basement For?
Finishing a basement adds flexible, functional space to your home. Whether you want to relax, work, host guests, or generate rental income, there’s room to personalize.
Guest Bedroom or In-Law Suite:
Great for visitors or multigenerational households, especially with a private bathroom.
Media or Entertainment Room:
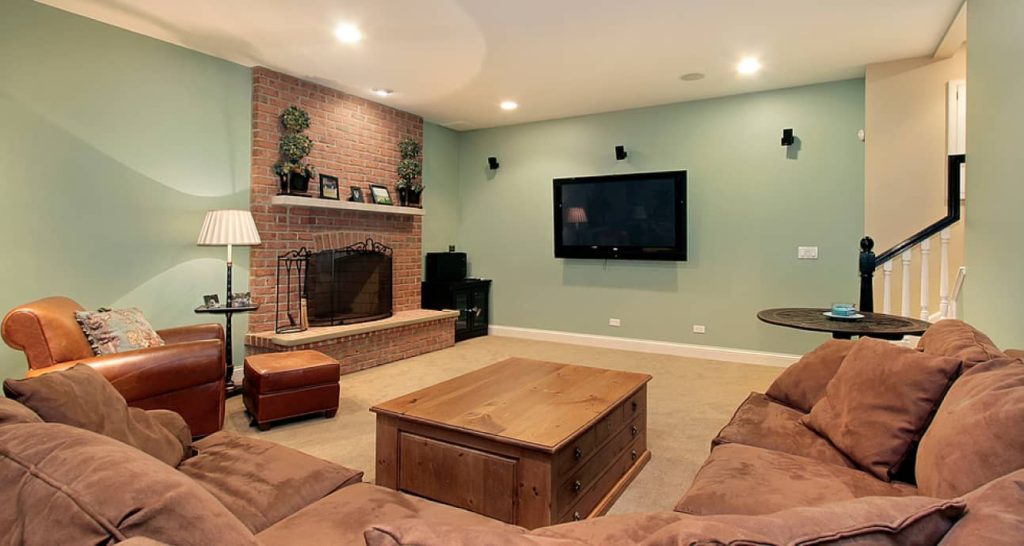
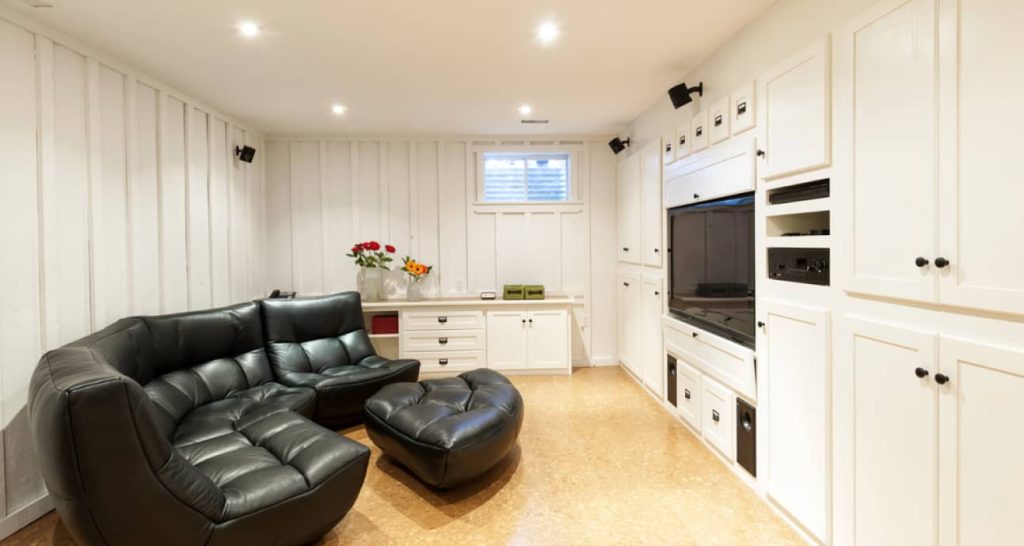
A cozy spot for movie nights or watching sports. Add soundproofing for the full effect.
Home Office or Studio:
If zoning allows, a finished basement with a separate entrance can generate extra income.
Rental Unit or Airbnb:
In the Denver area, permit requirements can vary significantly based on your city and the scope of the work.
Home Gym or Wellness Room:
Install rubber flooring, mirrors, and ventilation for workouts or yoga sessions.
Kids’ Playroom or Game Room:
Keep toys, games, and activities contained in one fun space.
Final Thoughts
Finishing a basement is one of the most impactful ways to expand your living space without building an addition.
Whether you're planning a home office, rental unit, or media room, knowing the steps, from framing and permits to flooring and final inspections, helps you make smart, informed decisions.
Ready to transform your basement into usable living space?
Team Dave Logan connects you with screened, licensed basement remodeling pros in the Denver area who understand local code, design options, and budget needs.
Get a quote today and move forward with a basement contractor who understands your goals and local code requirements, so your project can move forward with confidence.
FAQs
Is a walk-in shower better than a bathtub?
A walk-in shower is better for accessibility and space saving, while a bathtub is better for soaking and family use. The right choice depends on your lifestyle, bathroom size, and whether relaxation or function matters more in your daily routine.
Do walk-in showers use less water than bathtubs?
Yes, walk-in showers typically use less water than bathtubs. A 10-minute shower with a standard showerhead uses around 20–25 gallons, while filling a bathtub can use 40–70 gallons.
What adds more value: a tub or a shower?
A home with at least one bathtub can appeal to families and increase resale value in certain markets. However, walk-in showers are seen as modern upgrades and may add more value in smaller or urban homes.
Can I have both a tub and a shower in one bathroom?
Yes, many homeowners install both a walk-in shower and a bathtub, especially in primary bathrooms. This gives you flexibility for quick showers or relaxing soaks and can help attract a wider range of future buyers.